A simple home routine can make leather shoes look sharper, last longer, and resist moisture. The key is working in thin layers, letting each step do its job, and using the right products for the right leather. Use the checklist below for a quick refresh or a full dress-shoe shine—without creating streaks, dullness, or heavy buildup. For more guidance, see Shoe polish – Wikipedia.
Before Starting: Identify the Leather and the Goal
- Confirm the shoe type: Smooth leather can be cream- and wax-polished. Suede/nubuck should not be wax-polished (use suede-specific care instead). Patent leather typically needs wiping and specialized patent products, not standard wax.
- Decide the finish: A 10-minute refresh looks clean and even. A 20–30 minute routine improves depth and color. A 45+ minute mirror shine is mainly for toe and heel.
- Check for damage: Deep cracks, peeling finish, separating soles, or loose welts are signs to pause and consult a cobbler—more polish won’t fix structural issues.
- Match the polish color: Neutral works on most shoes and is convenient. A close color match hides scuffs better and can even out fading.
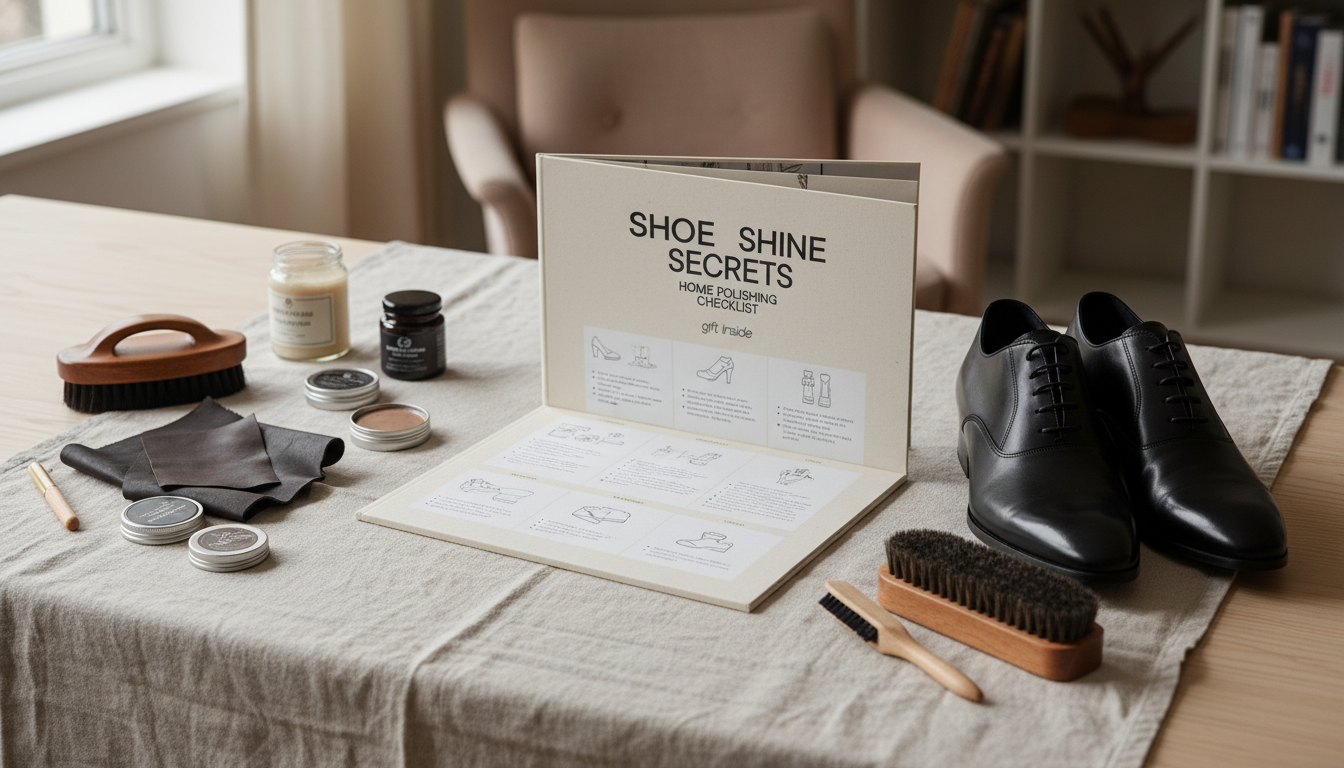
Home Polishing Checklist: Tools and Materials
- Horsehair brush (large) for dusting and buffing; a smaller brush for welts and seams.
- Soft cotton cloths (or an old T-shirt): one for applying product, a separate one for final buffing.
- Leather cleaner (saddle soap or a dedicated leather cleaner) for periodic deep cleaning.
- Leather conditioner to keep the leather flexible and reduce cracking.
- Cream polish for color and conditioning; wax polish for shine and added water resistance.
- Optional: edge dressing for the sole edge, and a welt brush for detailed work.
- Shoe trees (cedar preferred) to hold shape and help absorb moisture while working.
What Each Product Does (and When to Use It)
| Item |
Best for |
How often |
Notes |
| Horsehair brush |
Removing dust, raising shine |
Every wear / every shine |
Brush first and last; dust can scratch during polishing |
| Cleaner (saddle soap or leather cleaner) |
Removing grime, old buildup |
Every 5–10 shines or as needed |
Avoid over-wetting; wipe residue fully |
| Conditioner |
Preventing dryness and cracks |
Every 3–6 weeks (varies by climate) |
Let it absorb; excess can dull shine |
| Cream polish |
Color restoration, light shine |
As needed (often weekly for frequent wear) |
Great for covering scuffs; more forgiving than wax |
| Wax polish |
High shine, mild water resistance |
Occasionally or for dress wear |
Thin layers; too much buildup can crack |
Step-by-Step: Clean, Condition, Polish, and Buff
- Insert shoe trees and remove laces to reach the tongue, eyelets, and quarters.
- Dry brush thoroughly to remove surface dust from uppers, seams, and the welt. (This prevents micro-scratches.)
- Spot clean: Wipe with a slightly damp cloth. For heavier grime, use a small amount of cleaner and gentle circles, then wipe off residue.
- Let the leather dry naturally away from heat before adding conditioner or polish.
- Condition sparingly: Apply a thin layer, wait 10–15 minutes, then brush lightly to even it out and remove any excess.
- Apply cream polish: Wrap a cloth around two fingers, use a small amount, and work in small circles. Focus on scuffs, toe caps, and heel counters.
- Let the cream haze for a few minutes, then buff with a horsehair brush until the tone looks even and the surface feels slick.
- Optional wax step: Apply an extremely thin layer to toe and heel, let it set briefly, then buff. Repeat thin layers for more shine (avoid flex points).
- Final wipe: Use a clean cloth for a last buff and to remove residue around stitching, broguing, and along the welt.
For additional brand-specific care tips and product guidance, see Allen Edmonds’ shoe care guide and Saphir’s shoe care guides. For general preservation principles (especially about moisture and storage), the Library of Congress guidance on caring for leather is also helpful. For further reading, see The Best Products for Maintaining and Shining Leather Shoes.
Scuff and Scratch Fixes That Look Natural
- Light scuffs: Brush first, then blend with a matching cream polish. Buff until the color merges with the surrounding area.
- Deeper scuffs: Build color in thin layers instead of one heavy coat. Let each layer set before buffing and adding more.
- Salt stains: Wipe with a cloth lightly dampened with a water-and-vinegar mix (test in a hidden area first). Once dry, condition lightly to restore flexibility.
- Control moisture: Avoid flooding the leather—uneven water penetration can cause stiffness, spotting, or tide marks.
How to Choose the Right Products for Home Polishing
Common Mistakes That Cause Dullness, Streaks, or Buildup
Quick Routines: 10 Minutes, 30 Minutes, and Mirror Shine
Care Between Shines: Storage and Wear Habits
FAQ
How often should leather shoes be polished at home?
Brush after each wear, use cream polish every few wears (or weekly for frequent use), condition every few weeks, and save wax for dress shine or occasional added protection.
Is it better to use cream polish or wax polish for everyday shoes?
Cream polish is usually better for everyday wear because it refreshes color and stays flexible as the shoe bends. Wax is mainly for higher shine and can crack if layered heavily on flex areas.
Can household oils like olive oil replace leather conditioner?
No—food oils can oxidize, turn rancid, and absorb unevenly, which may darken or weaken the leather over time. A dedicated footwear leather conditioner is formulated to penetrate predictably and dry down cleanly.
Recommended for you







Leave a comment