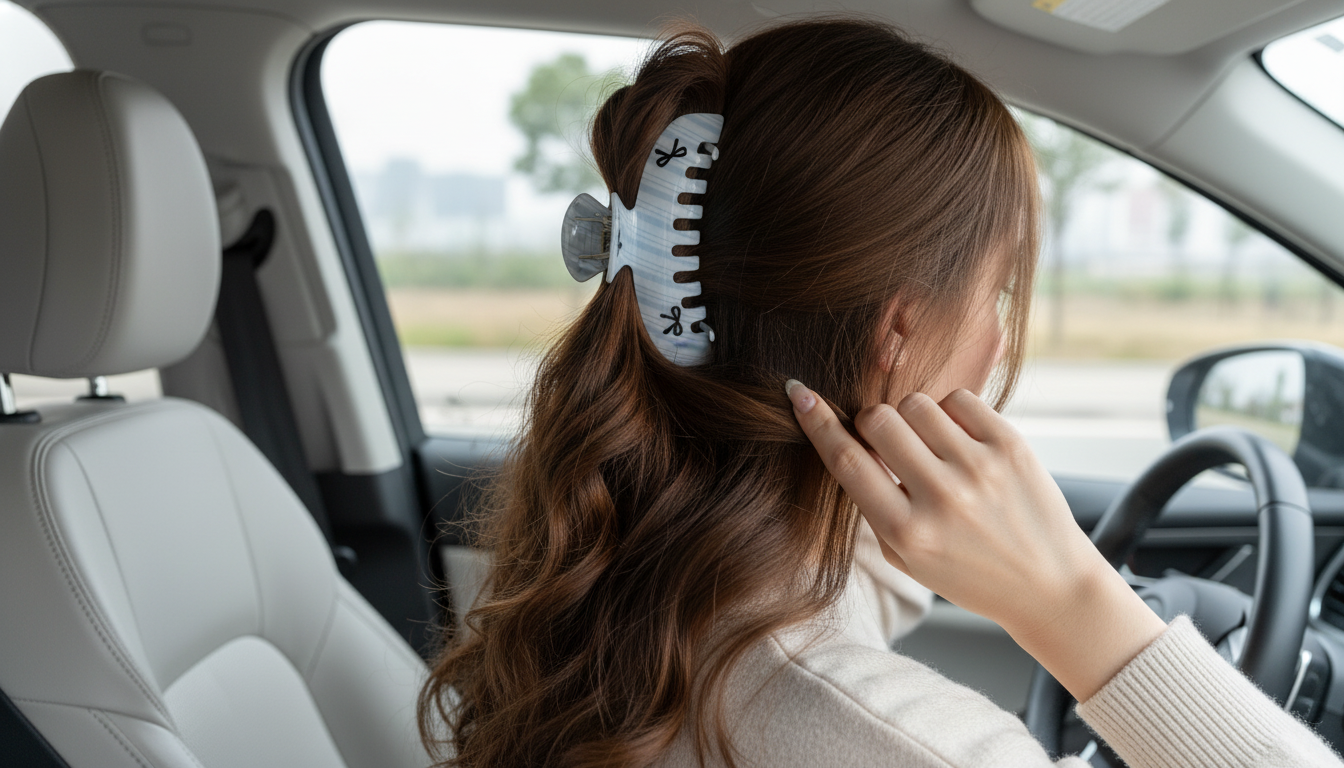
Thick hair needs two things from a bow hair claw clip: a tight, anchored base and an even spread of hair inside the teeth. The easiest way to get a secure hold is to create tension first, then clamp close to the scalp so the clip grips hair at the roots instead of sliding on the surface.
Start with dry hair (or lightly textured hair) for the best grip. Gather your hair at the nape or mid-back of the head, then twist upward until the twist feels snug against your scalp. Fold the twisted length back down slightly (like a small “loop”) so the clip has more hair to bite into. Open the bow claw clip wide, place the teeth over the thickest part of the twist, and clamp down close to the scalp. If the clip sits too far away from your head, it’s more likely to slip.
If your hair is very silky, add texture before clipping: a quick mist of dry shampoo or a light texturizing spray at the roots can reduce sliding. Avoid heavy oils right before styling, since they make the hair shaft slick. For comfort, don’t clamp directly on a hard bump of hair; spread the twist so the teeth capture multiple smaller sections evenly.
Half-up bow clamp: Take the top half of your hair, twist it once or twice, then clamp at the crown. This reduces weight on the clip and keeps volume while staying secure.
Low French twist clamp: Gather hair low, twist upward tightly, tuck the ends downward along the twist, and clamp vertically. Thick hair often stays better with a vertical clamp because the weight is supported along the twist.
Position the bow so it sits centered and visible while the teeth do the “work” underneath. If your clip feels tight, use a slightly looser twist rather than forcing the hinge. For more styling and care guidance, see the full guide here: https://splendona.com/guide-blue-striped-bow-hair-claw-clip-styles-fit-care/.
Add light texture at the roots with dry shampoo or texturizing spray, then clamp closer to the scalp over a small twist or loop so the teeth grip anchored hair instead of smooth lengths.




Leave a comment