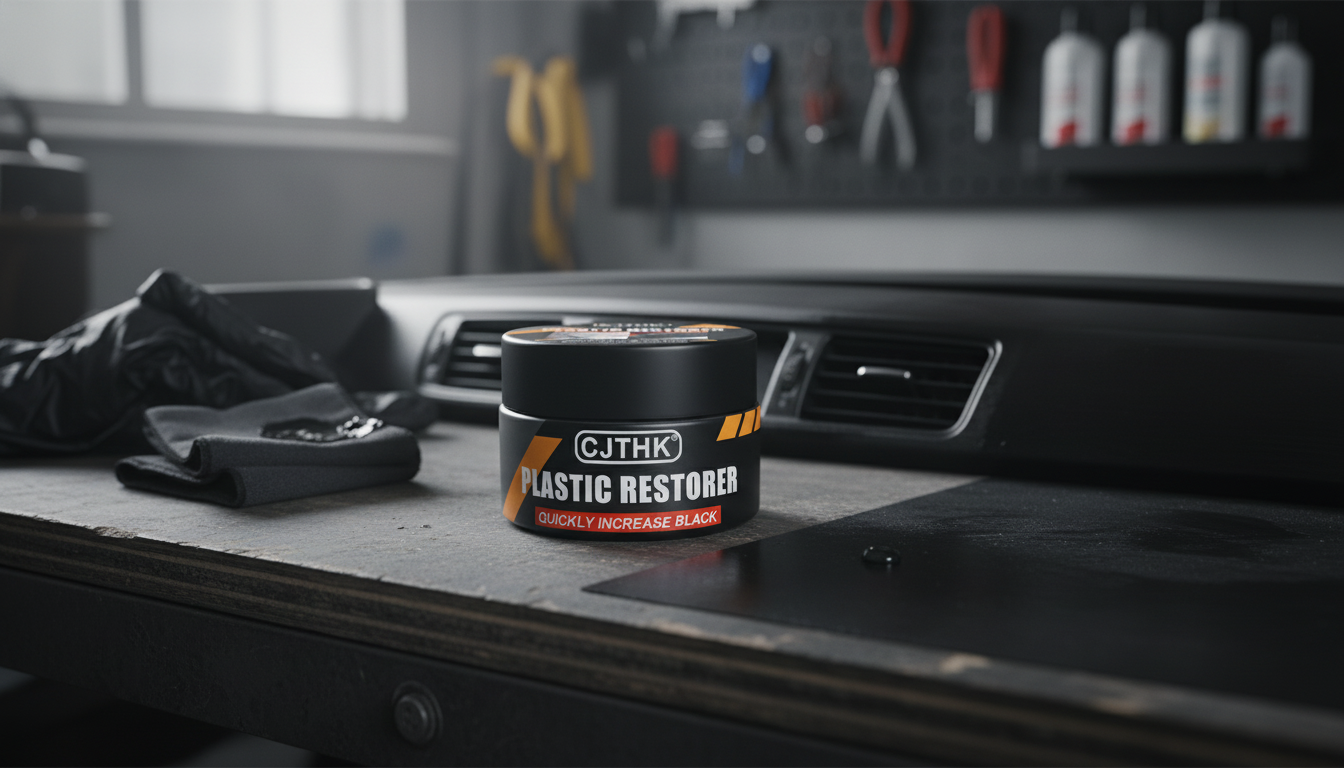
Faded exterior trim and dull interior surfaces can make an otherwise clean car look older than it is. A plastic and leather restorer is designed to refresh color, add a uniform gloss, and lay down a protective coating that helps reduce future fading from UV, heat, and washing. This guide covers where it works best, how to apply it for an even finish, and what to avoid for long-lasting results.
What this restorer does (and what it doesn’t)
- Revives the look of oxidized plastics and tired-looking leather-like surfaces by deepening color and increasing gloss.
- Leaves a coating layer that can help slow down future drying and fading when maintained properly.
- Helps even out patchy appearance on textured trim when applied in thin, repeatable coats.
- Does not permanently repair cracks, torn upholstery, or missing pigment; severe damage may require dye, filler, or replacement.
- Does not replace cleaning; applying over grime can lock in dirt and lead to streaking.
Where it works best: common surfaces and areas
- Exterior plastic trim: bumpers, mirror housings, cowl panels, door moldings, fender trim, roof rails (confirm the surface is unpainted plastic).
- Interior plastic: dashboards, door cards, center console plastics (use lighter application to avoid glare).
- Leather and leather-like seats: best on coated (sealed) leather and many PU/PVC “leatherette” surfaces; always spot-test first.
- Rubber and vinyl accents: may improve appearance, but avoid surfaces requiring high friction (pedals, steering wheel grips) to prevent slipperiness.
- Avoid: glass, screens, instrument clusters, painted body panels, suede/Alcantara, unsealed aniline leather unless the product is explicitly safe for it.
Quick comparison: plastic vs leather vs vinyl care goals
Plastics usually need oxidation reversal and UV shielding, while leather-like materials often need a uniform sheen that doesn’t stay tacky. Textured trim benefits from precise applicator control so product doesn’t pool in crevices. Inside the cabin, “maximum gloss” is rarely the best outcome—touchpoints typically look (and feel) better with a clean, natural finish.
Surface goals and best practices
| Surface |
Main problem |
Desired finish |
Application tips |
Common mistakes |
| Exterior plastic trim |
Fading/oxidation |
Even darkened gloss |
Clean/degrease, apply thin coats, buff excess |
Applying on hot panels; leaving streaks unbuffed |
| Interior plastic |
Dullness/scuffs |
Low to medium gloss |
Use minimal product, spread evenly, wipe dry |
Over-applying causing glare and oily feel |
| Coated leather/leatherette (PU/PVC) |
Dry look, uneven sheen |
Uniform satin to gloss |
Spot-test, use soft applicator, avoid seams soaking |
Saturating perforations; skipping final wipe-down |
| Rubber/vinyl accents |
Chalky look |
Subtle restored tone |
Apply lightly, remove residue |
Using on pedals/steering where grip is needed |
Preparation that prevents streaks and blotches
- Wash or wipe down the area first; for exterior trim, remove road film and old dressings with a gentle all-purpose cleaner or trim-safe degreaser.
- Dry completely; moisture can cause uneven bonding and cloudy patches.
- For interiors, vacuum seams and creases so debris doesn’t get dragged across the surface.
- Mask nearby painted panels or sensitive areas when working on exterior trim to reduce accidental smears.
- Spot-test on a small hidden area to confirm the finish level and compatibility (especially on leatherette and older interiors).
How to apply for a “back to black” gloss finish
- Work in shade on a cool surface; heat can cause fast flashing and uneven appearance.
- Use a foam or microfiber applicator pad; apply a small amount and spread it thinly.
- Let the first coat settle briefly, then gently buff off excess to prevent tackiness and streaking.
- Add a second thin coat only if needed for uniform color; thin layers usually look better than one heavy pass.
- For textured trim, dab and spread to reach pores, then buff with a clean towel to level high spots.
- Keep product out of perforations and stitching on seats; use controlled pressure and smaller applicators around seams.
Durability, maintenance, and when to reapply
- Longevity depends on UV exposure, wash frequency, and whether harsh cleaners are used on the treated surface.
- Use pH-balanced car wash soap on exteriors; avoid strong solvents that strip protective coatings.
- For interiors, clean with a slightly damp microfiber and mild interior cleaner; avoid glossy buildup on touchpoints.
- Reapply when water behavior, sheen, or color depth noticeably drops—typically after several washes or weeks of sun exposure.
- Store the product sealed and out of heat to maintain consistency and performance.
Safety and finish control (gloss without greasiness)
Products to help restore and protect surfaces
Helpful references for safer use and vehicle care
For best practices around choosing and using chemical products, see the U.S. Environmental Protection Agency (EPA) Safer Choice guidance. For general safety and maintenance resources, visit NHTSA.
FAQ
What are the cons of PVC leather?
PVC leather is less breathable than genuine leather and can feel less supple, especially in temperature swings. Over time, heat and UV exposure may contribute to cracking or peeling, and some materials can have a noticeable plasticizer odor; gentle cleaning and UV protection help reduce premature aging.
Is PVC leather expensive?
PVC leather is typically cheaper than genuine leather and often costs less than higher-grade PU. Pricing varies based on backing material, thickness, grain embossing, and whether it’s made to automotive-grade UV and wear standards.
How much does car leather cost?
Costs range widely: seat covers can be relatively affordable, while full upholstery replacement is usually far more expensive due to material quality and labor. Professional re-dye or repair may land in the middle; restorers are best for cosmetic refresh and protection rather than replacing damaged leather.
Recommended for you





Leave a comment