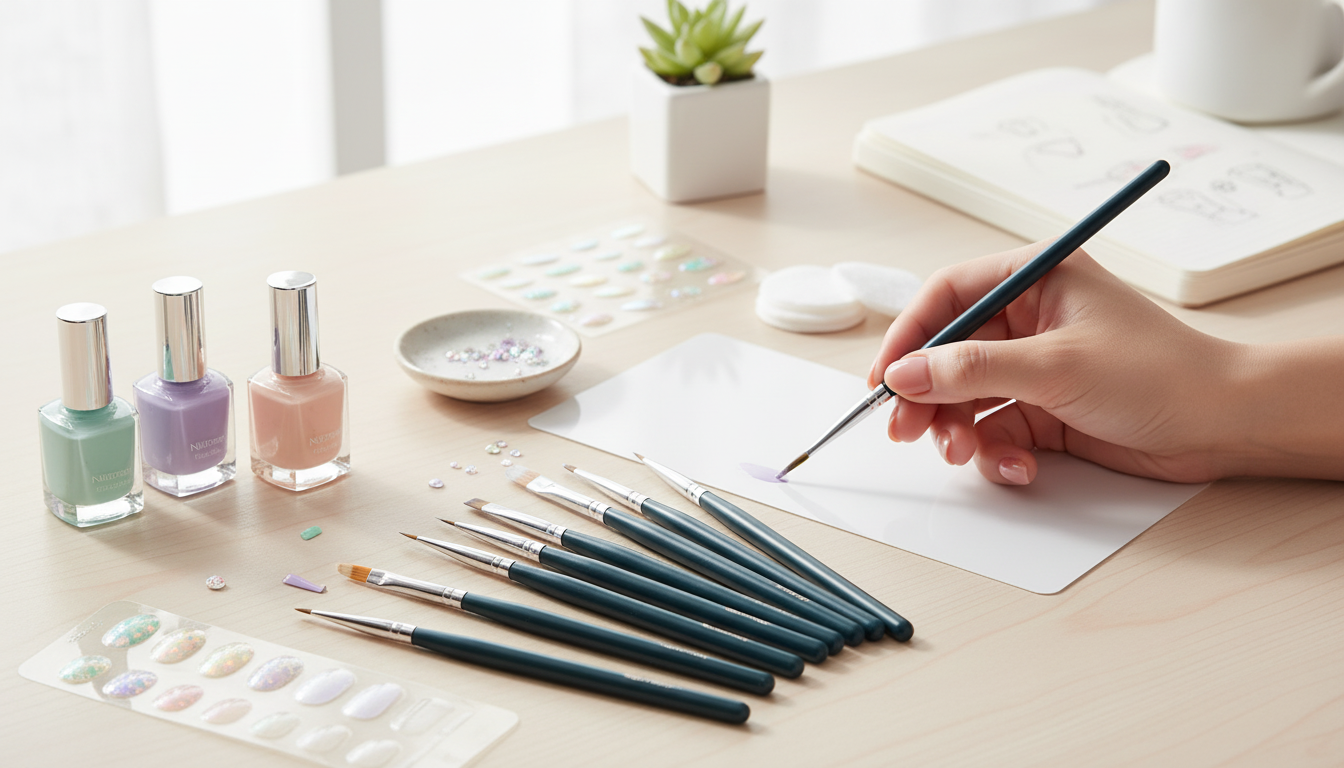
A good nail art brush turns polish, gel, and paint into clean lines, balanced curves, and precise details—without flooding the cuticle or dragging streaks across the nail. From tiny accents to full patterns, brush shape, bristle length, and stiffness determine how easily a design comes together and how clean it looks once cured or dried.
When nail art looks “professional,” it’s usually because the product stayed exactly where it was placed. A dedicated brush helps you control that placement—especially along sidewalls and the cuticle curve where mistakes stand out most.
Longer bristles hold more product and glide farther, but they can wobble if you rush. Shorter bristles feel steadier for tiny shapes, but they run “drier” and may need more frequent reloading. Stiffer fibers create sharper edges; softer fibers blend better but can blur crisp borders if you press too hard.
Most everyday designs can be handled with a small set of brush shapes. Picking the right one reduces cleanup time and helps lines cure smooth instead of bumpy.
| Brush type | Best for | Works well with | Beginner tip |
|---|---|---|---|
| Liner / Striper | Pinstripes, French outlines, swirls | Gel paint, thin gel, polish | Wipe excess product to prevent blobs at the start of a line |
| Detail / Point | Small icons, petals, crisp corners | Gel paint, acrylic paint | Use short strokes and rotate the finger—not the wrist—for curves |
| Flat | Color blocking, edge cleanup, one-stroke leaves | Builder gel, polish | Keep bristles flat to avoid ridges and streaks |
| Angled | Sidewalls, diagonal French, sharp edges | Gel, polish | Use the angle as a “guide rail” along the cuticle curve |
| Blending / Ombre | Gradients, soft shading, aura effects | Pigments, lightly cured gel | Tap and sweep lightly; pressure creates harsh lines |
Dotting tools and micro brushes also earn a spot in many kits, but for truly crisp edges (like micro French outlines or contour lines), a liner and a detail brush do most of the heavy lifting.
Pressure is the usual culprit behind messy lines. Use just enough to keep contact; too much pressure spreads bristles and widens the stroke, especially with softer liners.
For general nail care and safety basics, refer to guidance from the American Academy of Dermatology Association. If you use gel systems and adhesives frequently, it’s also worth reviewing information on cosmetics and safe use from the U.S. Food & Drug Administration and allergy considerations like acrylate contact dermatitis.
Common choices include a liner/striping brush for long, continuous lines, a detail brush for small shapes and corners, and flat or angled brushes for clean edges and one-stroke work. For gradients and aura effects, a soft blending brush helps diffuse pigment without leaving harsh borders.
They’re used to place product precisely for crisp lines, smooth curves, layered designs, shading, and quick edge corrections. Brush choice also helps match the medium—gel often benefits from controlled, wipeable bristles, while polish and paints may need different loading and cleaning methods.
Beyond brushes, many use dotting tools, palettes, tweezers, sponges, striping tape, and small cleanup tools. Brushes remain the primary tool for controlled detailing because they handle outlining, filling, refining, and micro corrections with consistent results.





Leave a comment