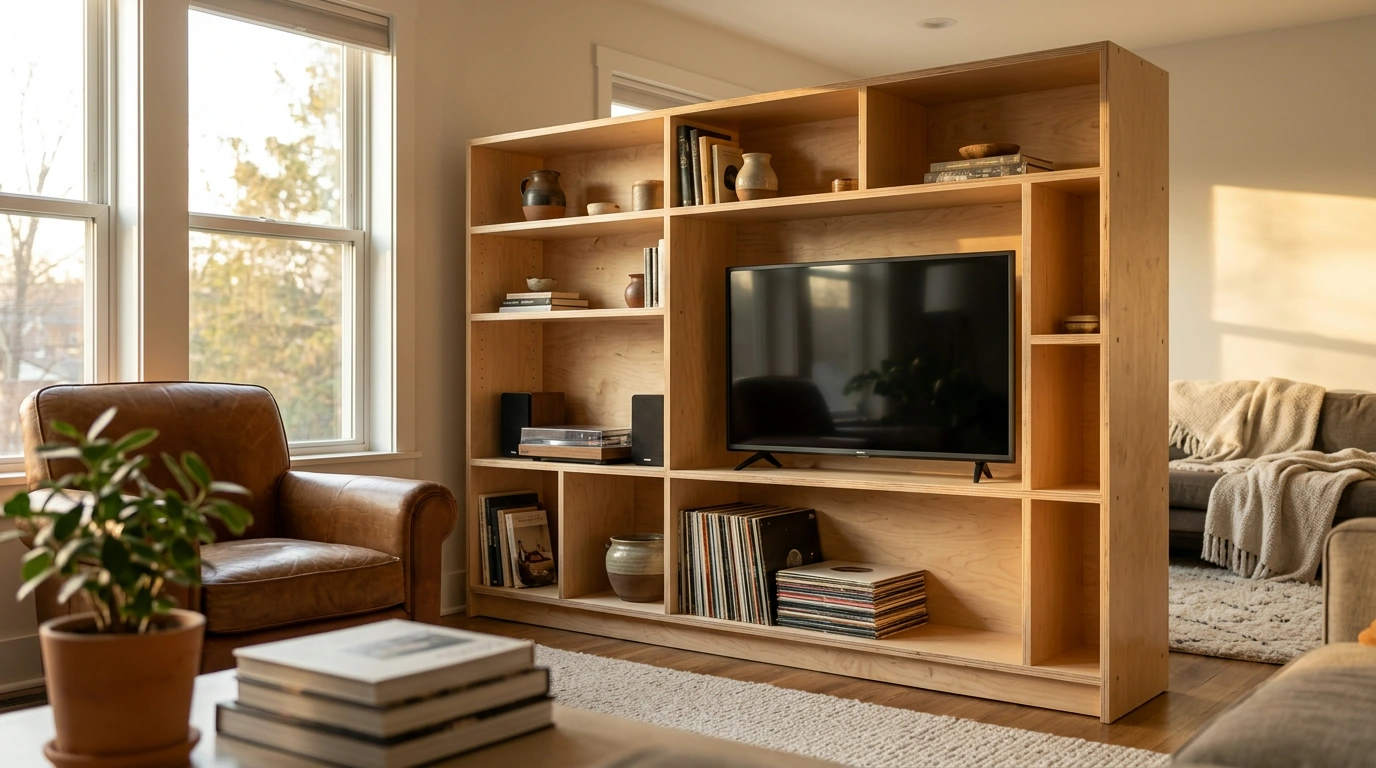
Build a DIY entertainment center by measuring your space, choosing a sturdy cabinet design, and assembling a base with shelves sized for your TV and media equipment. A simple plywood cabinet is a practical starting point: You can customize its width, storage, and finish without building an entire wall unit.
Measure the wall, your TV, and the components you want to store. Allow room for cords and airflow around electronics, following each device’s ventilation instructions. Decide whether your TV will sit on the cabinet or be mounted separately, and leave enough surface depth for its stand.
Sketch the cabinet with its overall dimensions, shelf spacing, and support locations. Plan a stable base and keep heavy items on lower shelves. For a wider unit, add vertical dividers to support the top and reduce shelf sagging.
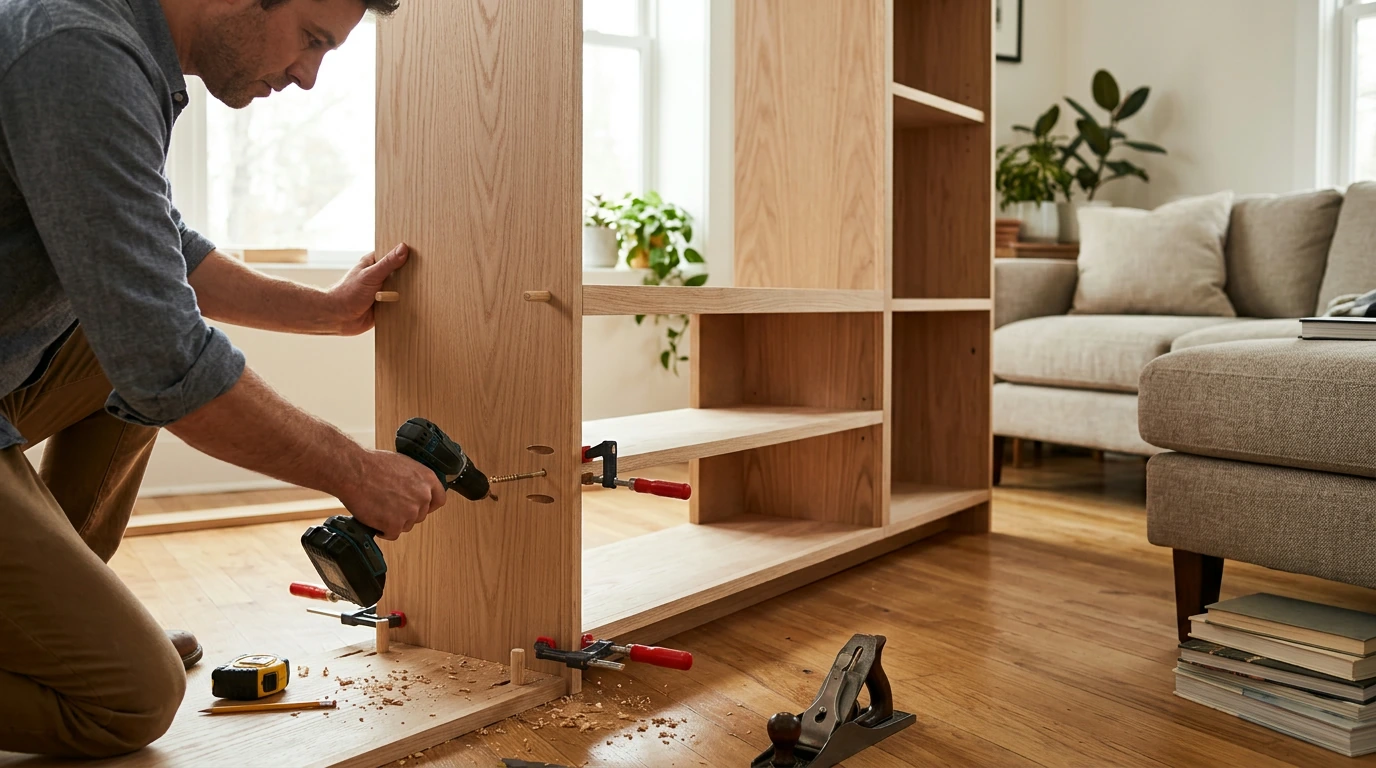
Our team recommends cabinet-grade plywood for the top, sides, shelves, and dividers. Add solid-wood edging or edge banding to cover exposed plywood edges. You’ll also need wood screws, wood glue, sandpaper, a finish, and appropriate wall-anchoring hardware.
Gather a tape measure, square, drill, clamps, and a saw suited to your cuts. If you don’t have a saw, you can have the plywood cut to your measurements where you buy it. Wear eye protection and secure pieces before drilling or cutting.
Once everything is in place, route cords without pinching them and distribute equipment across the supported shelves. For more ideas for your space, explore our guide to a creative night in.
Measure your space and equipment, then build a supported plywood cabinet with shelves, cord openings, and a stable base. Finish the surfaces and anchor the unit to wall studs before loading it.
Cabinet-grade plywood is a reliable choice for the cabinet and shelves, while solid wood works well for edging and trim. Add dividers or other supports under long shelves to help prevent sagging.





Leave a comment