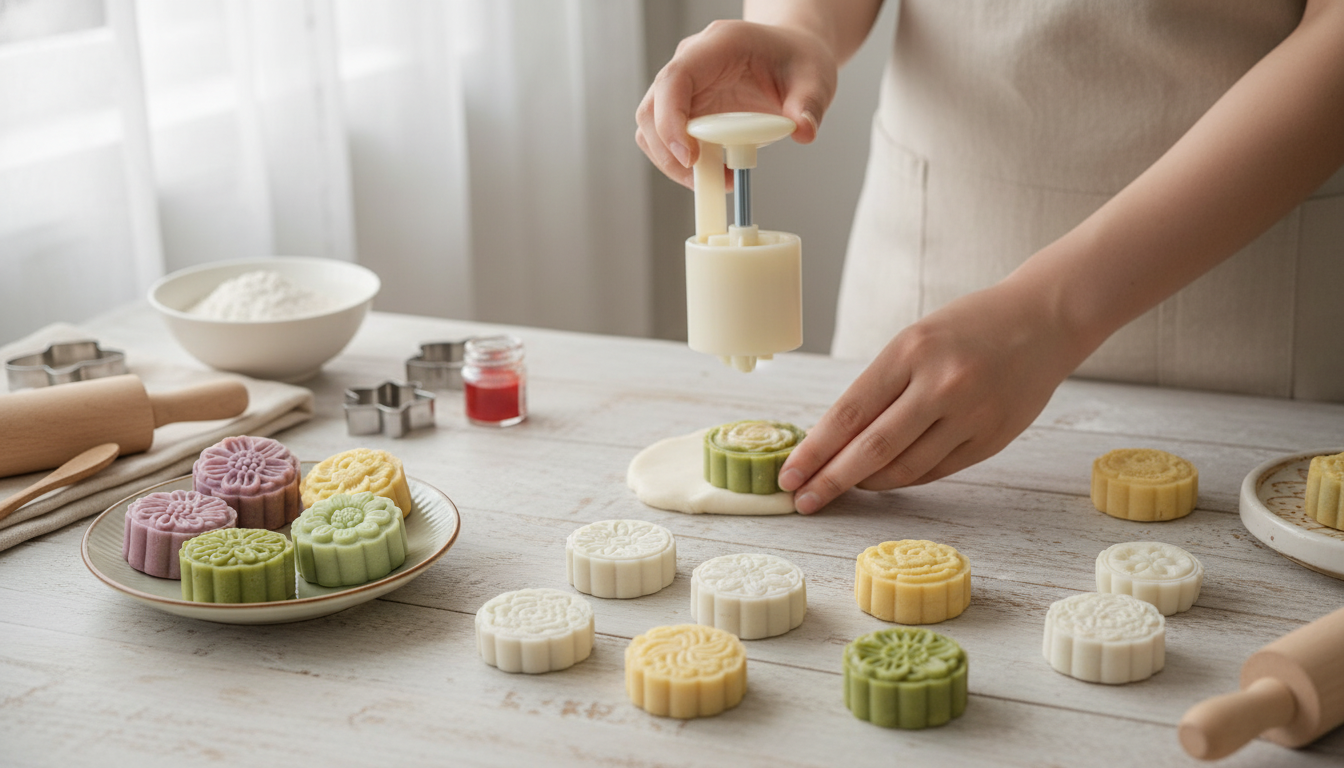
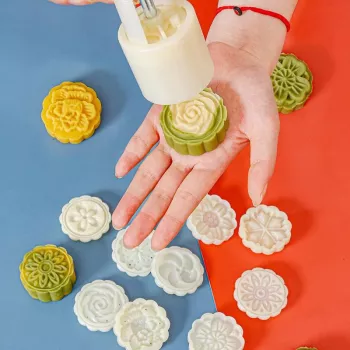
Small press molds make it easier to shape consistent mooncakes, cookies, and fondant decorations without advanced pastry skills. A mini jelly mooncake cookie press mold set with floral stamps is designed for quick release, neat edges, and repeatable patterns—useful for festive trays, gift boxes, and practice batches. Because the barrel controls the outline and the stamp handles the surface pattern, each piece comes out with a similar size and a cleaner rim than hand-formed dough, especially when working with sticky fillings or soft jelly mixtures.
What this mold set helps make
- Mini jelly-style mooncakes with clear definition on the top pattern
- Pressed cookies with uniform thickness for even baking
- Fondant and modeling chocolate toppers for cupcakes and cakes
- Soft dough snacks (mung bean, taro, red bean, peanut) formed into tidy portions
- Decorative pastry “tiles” for plated desserts when pressed into thin sheets
Mini sizes are especially practical when testing flavors. If a new filling is too sweet, too loose, or too dry, smaller portions reduce waste while still showing how the pattern and edges will look once finished.
How a press-style mold works
- A patterned stamp creates the surface design while the barrel defines the outer shape
- Even pressure produces cleaner edges than hand shaping, especially with sticky fillings
- A release step (light flour, starch, or oil depending on dough type) reduces tearing
- Short, firm presses usually perform better than slow, heavy pressure for detailed floral designs
- Chilling soft doughs briefly can improve definition and reduce sticking
For best results, aim for a “single motion” press: position the mold straight down, press firmly until resistance increases, then release. Slow pressing and shifting your wrist can smear fine floral grooves, while twisting can drag the surface and blur crisp lines.
Quick start: jelly mooncakes, cookies, and fondant
- For jelly mooncakes: portion the mixture, lightly coat the mold surface, press firmly, and release onto a nonstick mat; chill to set if needed
- For baked mooncakes: wrap filling with dough, smooth the seam, dust lightly, press, then release onto a lined tray
- For cookies: roll dough to an even thickness, cut portions, press into shape, and chill before baking to preserve pattern
- For fondant: knead until pliable, dust with cornstarch, press, and lift carefully; let toppers dry slightly for easier handling
- Cleaning tip: wash and dry thoroughly after sticky fillings; use a soft brush to remove residue from fine floral grooves
If you’re working with gelatin-based jelly, timing matters: press while the mixture is pliable but not runny. If it’s too warm, it may cling inside the stamp details; if it’s too set, it may crack at the rim when compressed.
Getting crisp floral details without sticking
- Match release agent to material: flour for wheat dough, cornstarch for fondant, light oil for high-sugar or gelatin mixtures
- Avoid overfilling: excess dough compresses into stamp grooves and blurs the design
- Press straight down: angled pressure causes uneven rims and partial pattern transfer
- If the design looks shallow, chill the formed piece briefly and re-press gently (without twisting) for refinement
- If pieces crack, increase dough hydration slightly or reduce pressure; cracks often come from dryness rather than the mold
Common problems and quick fixes
| Issue |
Likely cause |
Fix |
| Pattern sticks to the stamp |
Not enough release agent or mixture too warm |
Dust/lightly oil the stamp; chill dough/fondant 5–10 minutes |
| Edges look ragged |
Overfilling or uneven pressure |
Use a level portion; press straight down with one firm motion |
| Design looks blurry |
Too much release agent or very soft dough |
Use a lighter dusting; chill; reduce fat/liquid slightly |
| Cracks around the rim |
Dough too dry or pressed too hard |
Increase moisture a little; press gently; rest dough before shaping |
| Piece won’t release cleanly |
Residue in grooves |
Brush grooves clean; re-dust; avoid sticky fillings touching the stamp |
How to Choose a mold set for mini mooncakes and cookies
- Size and portion control: mini molds are best for tasting sets, party platters, and gift boxes; confirm the finished size matches planned packaging.
- Pattern depth: deeper stamps show better after baking; shallow stamps can be ideal for soft jelly and fondant where fine lines are easier to capture.
- Ease of release: smooth inner walls and a well-fitting plunger reduce suction and tearing.
- Material and durability: choose food-safe materials; avoid sets with rough seams that can trap dough and distort edges.
- Number of stamp designs: a small variety of floral patterns supports themed assortments without needing multiple barrels.
- Maintenance: fine floral grooves should be easy to rinse and brush; consider whether the set can be fully disassembled for cleaning.
- Use case fit: frequent baking benefits from sturdier construction; occasional festival use can prioritize variety and compact storage.
When comparing stamp styles, look at the negative space inside the flower lines. Wider channels tend to release more easily with buttery cookie dough, while finer channels can create elegant detail on fondant and chilled jelly—as long as the surface is properly dusted and the mixture is not overly wet.
Care, storage, and hygiene
For food-contact tools, consistent cleaning matters as much as technique. Refer to the USDA guidance on kitchen cleaning and sanitizing for practical routines, and the FDA Food Code for broader recommendations on food-contact surface hygiene. After washing, let the parts air-dry fully so moisture doesn’t linger in small floral grooves.
FAQ
How to use wooden mooncake mold
Cover the mold with a light dusting of flour, pack the dough portion firmly, tap to settle, then invert and knock gently to release. Keep the mold dry, avoid soaking, and brush flour out of carved areas after use.
Recommended for you




Leave a comment