Nordic Coffee Cup Wall Decals: Self-Adhesive Art for Kitchen & Living Spaces
Nordic coffee cup wall decals bring a clean, café-inspired accent to everyday rooms—without paint, nails, or permanent changes. With simple peel-and-stick installation, they can refresh a coffee corner, breakfast nook, apartment kitchenette, or lounge wall in minutes while keeping the overall feel minimal, cozy, and modern. The best part is how effortlessly they “finish” a space: one quiet graphic above a mug rack or sideboard can make the whole area look more intentional.
What Makes Nordic Coffee Cup Decals Work in Real Rooms
Nordic décor is known for calm visuals, functional styling, and warm simplicity. Coffee cup decals fit right in because they add personality without adding clutter.
- Minimal linework and simple silhouettes create a soft focal point that complements Scandinavian, modern, and cozy café interiors.
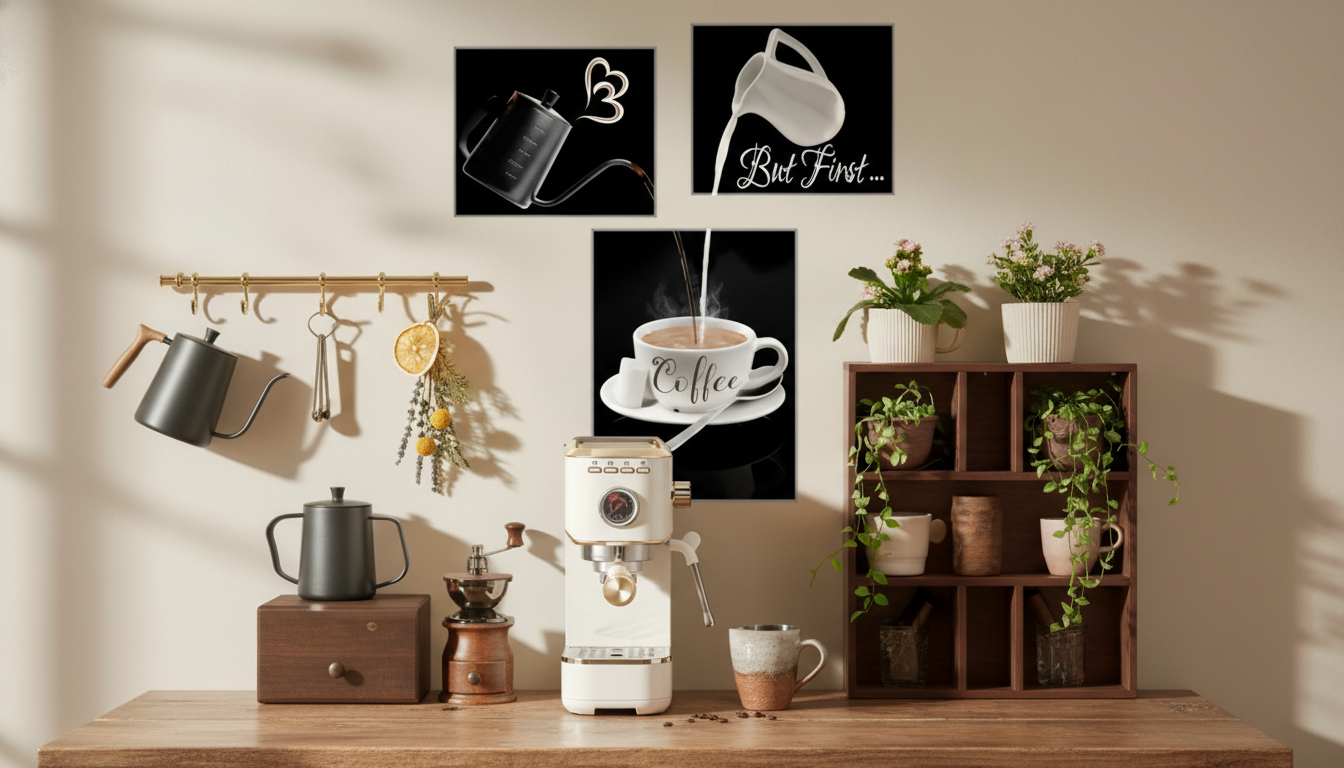
- Coffee-themed wall art naturally matches spaces where mugs, espresso machines, kettles, and bar carts already live, tying the area together.
- Self-adhesive vinyl-style decals offer a quick update for renters and frequent redecorators who want a change without committing to holes or paint.
- Small decals can be grouped into a gallery-like cluster, while larger designs can anchor a blank wall above a counter, console, or sideboard.
Best Places to Use Coffee Cup Wall Decals
Placement matters as much as the design. Aim for areas that feel visually “empty” but not high-risk for moisture, heat, or constant rubbing.
- Coffee station wall: Place the decal above a shelf, mug rack, or espresso machine to frame the setup.
- Breakfast nook: Position at eye level near seating to create a café vibe without cluttering tables.
- Kitchen backsplash area (smooth, non-heat surface): Add personality where frames or paint are impractical.
- Living room reading corner: Pair with neutral textiles and a side table to create a relaxed, hygge-inspired nook.
- Office or break area: Use subtle graphics to make the space feel welcoming without looking busy.
Placement ideas by room and surface
| Location |
Works best on |
Quick styling tip |
| Kitchen coffee corner |
Painted smooth wall, sealed wood, glass |
Align the decal with the center of the coffee machine or shelf |
| Dining/breakfast nook |
Smooth wall away from splashes |
Match with a small framed menu print or a neutral clock |
| Living room corner |
Painted wall, wardrobe side panel |
Keep surrounding décor minimal to preserve the Nordic look |
| Office/break room |
Glass partitions, smooth painted wall |
Use a single statement decal rather than many small ones |
How to Choose the Right Decal for the Space
A Nordic look is all about balance: enough contrast to be noticeable, but not so much that the wall feels busy. Choosing the right size and style upfront helps the final result look crisp and intentional.
- Measure first: Decide the maximum width and height available, leaving breathing room from cabinets, shelves, vents, and light switches.
- Match the room’s mood: Line-art cups feel airy and modern; filled silhouettes look bolder; text elements lean toward a café-sign effect.
- Pick contrast wisely: Dark decals pop on white or pale walls; light decals stand out on charcoal, navy, or warm-toned paint.
- Think in sets: A cluster of smaller icons can balance a wide wall better than one small decal floating by itself.
- Prioritize surfaces: Smooth, clean, dry walls help adhesion. Heavily textured walls can soften edges and reduce stickiness.
- Plan for removability: For rentals, test a small corner first and avoid applying to freshly painted walls until the paint has fully cured.
For extra peace of mind, it helps to follow general surface-and-adhesive guidance from manufacturers such as 3M, especially when dealing with specialty paints or low-VOC finishes.
Installation Basics for Clean Lines and Strong Adhesion
Clean lines are what make Nordic decals look “designed,” not improvised. A few minutes of prep can prevent bubbles, crooked placement, and lifting corners.
- Prep the wall: Wipe with a lint-free cloth. Avoid applying over dust, grease, or moisture—especially near cooking areas.
- Dry-fit before sticking: Use painter’s tape to position the decal and check alignment from multiple angles and distances.
- Apply slowly: Peel the backing gradually and press from the center outward to minimize bubbles and wrinkles.
- Use a smoothing tool: A plastic card wrapped in a soft cloth helps press edges down without scratching.
- Let it set: Avoid heavy wiping or steam exposure right away so the adhesive has time to bond.
If you’re applying decals in shared spaces (like an office break room), keep general safety considerations in mind—especially around electrical outlets and small children. For broader consumer safety guidance, the U.S. Consumer Product Safety Commission is a helpful reference.
Care, Cleaning, and Longevity
Most self-adhesive decals are low-maintenance, but a gentle approach keeps edges crisp and corners flat.
Simple Styling Combinations for a Nordic Coffee Look
FAQ
Will self-adhesive wall decals damage paint when removed?
It depends on the paint type, surface prep, and how long the decal stays in place. Test a small area first, avoid freshly painted walls until fully cured, and remove by warming gently and peeling slowly at a low angle.
Do wall decals stick to textured walls?
Smooth surfaces adhere best. Light texture may work, but heavy texture often prevents full contact and can cause early peeling—testing a small section on the smoothest available area is the safest approach.
How do bubbles get removed during installation?
Apply from the center outward and smooth as you go with a soft card or squeegee. If a bubble forms, lift and reapply a small section; only use a fine pin on tiny trapped bubbles as a last resort.
Recommended for you





Leave a comment