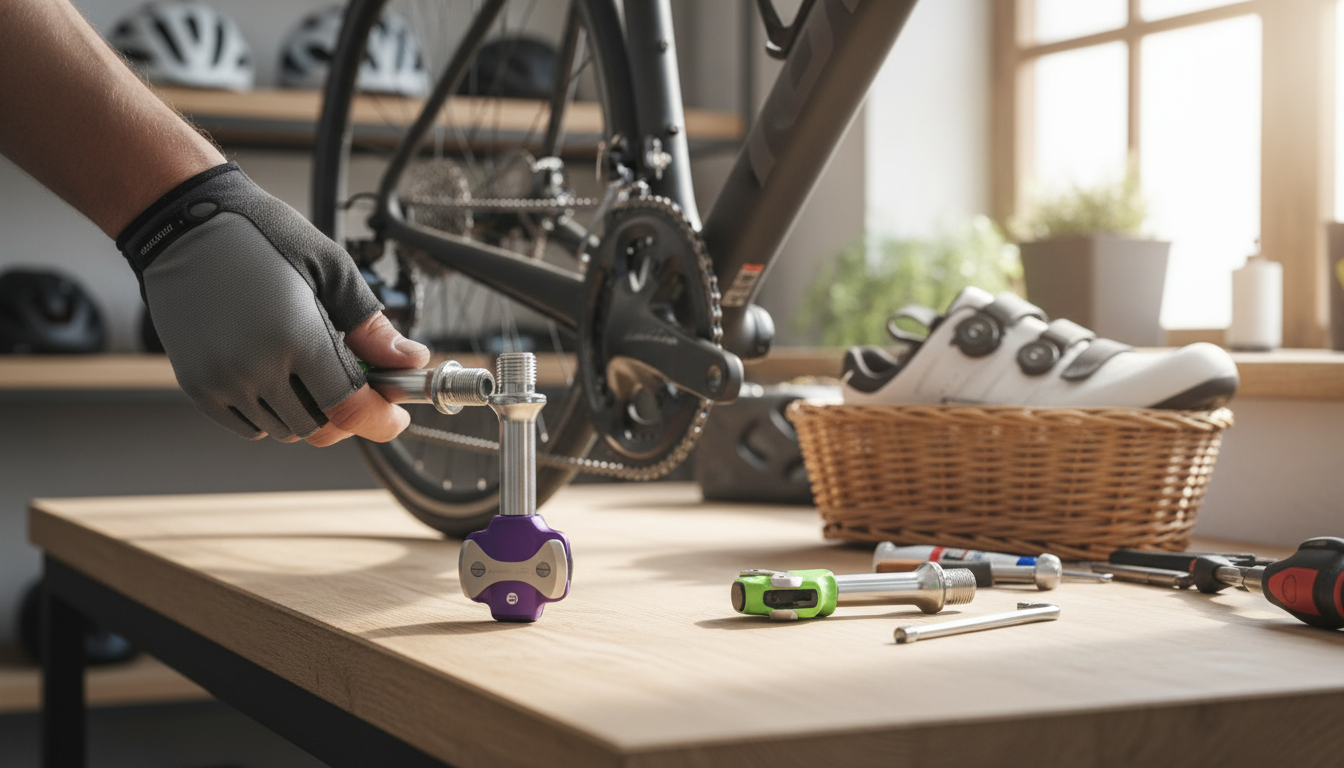
Ultralight pedals can sharpen acceleration and reduce fatigue on longer rides, but only when grip, engagement, and durability match the riding style. This guide breaks down how an aluminum alloy, anti-skid, self-locking pedal design behaves on the road or trail, what to check for compatibility, and how to set it up for confident, consistent pedaling. For more guidance, see [PDF] Electric Kick Scooter (ScookE) – Diva-Portal.org.
Ultralight aluminum alloy pedals focus on trimming rotational weight without turning the platform into a flexy, vague-feeling contact point. A rigid alloy body helps keep your foot supported when you’re standing to climb or sprinting out of a corner. For further reading, see Trail Terms – American Trails.
Anti-skid surfaces—often a mix of machined texture and traction pins—aim to reduce micro-slips that waste energy and distract you on choppy pavement, gravel washboard, or rooty singletrack. The “self-locking” portion is all about retention: it’s designed to keep your foot engaged so each pedal stroke feels planted instead of tentative, especially at higher cadence.
Overall, this style suits riders who want a secure connection without the floaty, reposition-every-few-minutes feel that can come with basic flat pedals.
Aluminum alloy typically balances strength, corrosion resistance, and low weight for frequent outdoor use. Look for clean machining around the axle interface and a platform shape that supports your shoe rather than concentrating pressure on a narrow edge.
More bite helps in rain and mud, but it can accelerate wear on softer shoe soles. Replaceable pins are a practical advantage: you can swap damaged pins after a rock strike, or tune grip by using shorter pins for commuting and longer pins for rougher rides.
Confirm what “self-locking” means for the specific pedal. Some designs are cleat-based (clipless-style engagement), while others use a cage/strap-style retention or a hybrid layout. Your shoe requirements—and your entry/exit routine at stops—depend entirely on this interface.
Lightweight pedals still need a strong axle and smooth bearings. Sealed bearings usually tolerate rain, dust, and washdowns better, and they’re less likely to develop the gritty feel that can show up after wet rides.
If the retention has adjustable tension, it’s easier to dial in confidence. Lower tension can make learning safer and reduce panic at stops; higher tension can feel more secure for sprinting and aggressive trail riding.
Most pedal problems happen before the first ride: wrong thread size, mismatched shoes/cleats, or a retention style that doesn’t fit the way you actually ride. Use this checklist to avoid expensive mistakes.
| What to check | Common options | Why it matters |
|---|---|---|
| Crank thread size | 9/16″ (most adult bikes), 1/2″ (some kids/BMX) | Wrong size can strip threads and ruin the crank |
| Retention type | Clipless (cleat), strap/cage, hybrid | Determines shoe needs and how secure the foot feels |
| Cleat pattern (if clipless) | 2-bolt (MTB-style), 3-bolt (road-style) | Must match the shoe and cleat hardware |
| Traction approach | Pins, textured plates, composite grip zones | Affects control in wet/mud and shoe sole wear |
| Serviceability | Sealed bearings, rebuildable axle | Impacts lifespan and maintenance costs |
Also consider discipline fit. Commuting tends to reward easy walkability and predictable release at frequent stops. Gravel and MTB use often prioritizes mud-shedding and quick exit. Road riding commonly favors a stable, repeatable engagement that feels calm at high RPM.
Locking retention changes both control and consistency. With your shoe engaged in the same spot each time, your foot position becomes more repeatable across long rides—helpful for comfort and for maintaining a steady pedal stroke.
On accelerations and out-of-saddle climbing, reduced foot slip can make power delivery feel more direct. At higher cadence, the security can smooth out the sensation of “chasing” the platform, because your foot isn’t drifting to find grip.
Before installation, apply a thin layer of grease or anti-seize to the pedal threads. Tighten snugly with the correct tool (often a pedal wrench or hex key at the spindle end), but avoid over-tightening. For step-by-step visuals and best practices, see Park Tool’s pedal installation and removal guide and Sheldon Brown’s notes on pedal threads and installation.
If your system is cleat-based, start with a neutral cleat position and then fine-tune for knee comfort and your natural foot angle. Check the manufacturer’s support documentation for your specific retention standard (for example, via Shimano’s support resources).
Cleat-based self-locking pedals typically require compatible cycling shoes and matching cleats (such as 2-bolt or 3-bolt patterns). Strap/cage or hybrid designs may work with regular shoes, so confirm the retention type and any stated shoe requirements before buying.
Yes, especially in wet conditions where extra traction reduces foot slip, but aggressive pins can increase shin-injury risk if your foot comes off the pedal. For stop-and-go riding, a moderate pin setup and supportive footwear usually provide a safer, more comfortable balance.
In mostly dry conditions, inspect every few months or roughly every 1,000–2,000 miles; in frequent rain, mud, or winter grit, check more often. Service is due if rotation feels gritty, there’s side-to-side play, or you hear new creaks or grinding—sealed bearings need less frequent attention but still benefit from periodic inspection.





Leave a comment