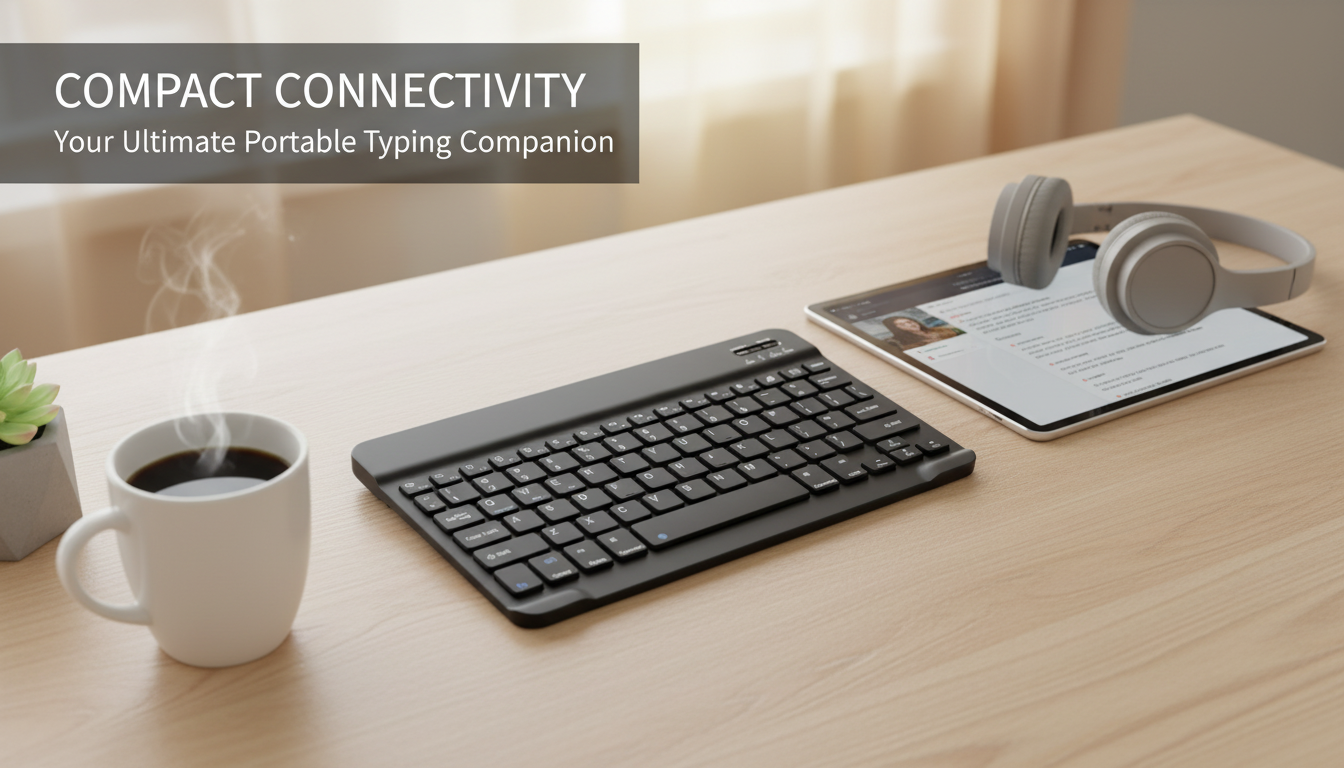
Connecting a Bluetooth keyboard to a laptop usually takes just a minute once you know where to look. The exact steps vary slightly by Windows vs. Mac, but the flow is the same: power on the keyboard, put it in pairing mode, then select it from your laptop’s Bluetooth list.
Turn on the keyboard and make sure it has battery power (or is charged). If it supports multiple devices, set it to the correct channel (often labeled 1/2/3). Then put it into pairing mode—commonly by holding a Bluetooth button or a key combo like Fn + Bluetooth until the LED starts blinking.
On Windows 10/11: Open Settings > Bluetooth & devices (or Devices) and switch Bluetooth On.
On macOS: Open System Settings (or System Preferences) > Bluetooth and turn Bluetooth On.
On your laptop, choose “Add device” (Windows) or find the keyboard under “Nearby Devices” (Mac). Select the keyboard name when it appears. If a pairing code pops up, type it on the Bluetooth keyboard and press Enter/Return to confirm.
Open a notes app and type a few lines. If it doesn’t connect, try turning Bluetooth off and on, removing the device and pairing again, or moving the keyboard closer. Also check whether the keyboard is already paired to another device and switch it to the right device slot if it’s multi-pairing.
For more tips on choosing and using compact wireless models, see this guide: portable Bluetooth keyboard guide.
Make sure the keyboard is in pairing mode (blinking light) and that your laptop’s Bluetooth is turned on. If it still doesn’t appear, charge/replace the batteries, move closer, and remove any old pairing from the keyboard by using its reset/clear pairing shortcut if available.




Leave a comment