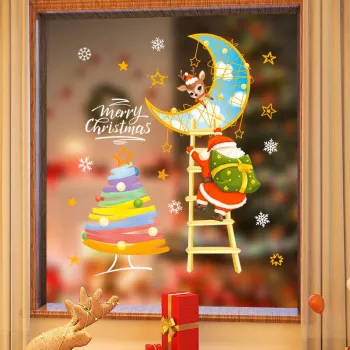
Applying Christmas window stickers is quick when you prep the glass and take your time with placement. Start by cleaning the window thoroughly with glass cleaner or a mix of water and a small drop of dish soap. Wipe until streak-free, then let it dry completely so the sticker can grip evenly.
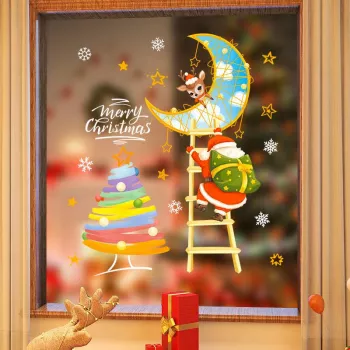
Next, plan your layout before peeling anything. Hold the sticker (still on its backing) up to the window to check spacing and height from the street view. If you’re creating a scene, place larger pieces first (like trees, Santa, or snowmen), then fill in with smaller accents (snowflakes, stars, ornaments) to avoid crowding.
To apply, peel a small portion of the backing paper and anchor the top edge of the sticker to the glass. Smooth outward with your hand or a plastic card (like a gift card), working from the center to the edges as you slowly remove the rest of the backing. This “peel-and-smooth” method helps prevent wrinkles and air bubbles.
If bubbles appear, lift the nearest edge gently and re-smooth, or push the bubble to the edge with the card. For cling-style decals, a light mist of water on the window can help you reposition before it fully settles. Once placed, press along all edges to secure contact.
When it’s time to remove them, peel slowly from a corner. If any residue remains (more common with adhesive vinyl than static clings), use warm soapy water and a soft cloth to clean the glass.
For sticker types, placement ideas, and decorating tips, visit the full guide here: https://splendona.com/guide-christmas-window-stickers-types-placement-tips/.
For How to Apply Christmas Window Stickers (No Bubbles), the best answer depends on fit, material, care instructions, and how the product will be used day to day.
Peel from a corner slowly and keep the sticker close to the glass as you pull. If residue remains, soften it with warm soapy water, then wipe with a microfiber cloth; a little rubbing alcohol can help for stubborn spots.



Leave a comment