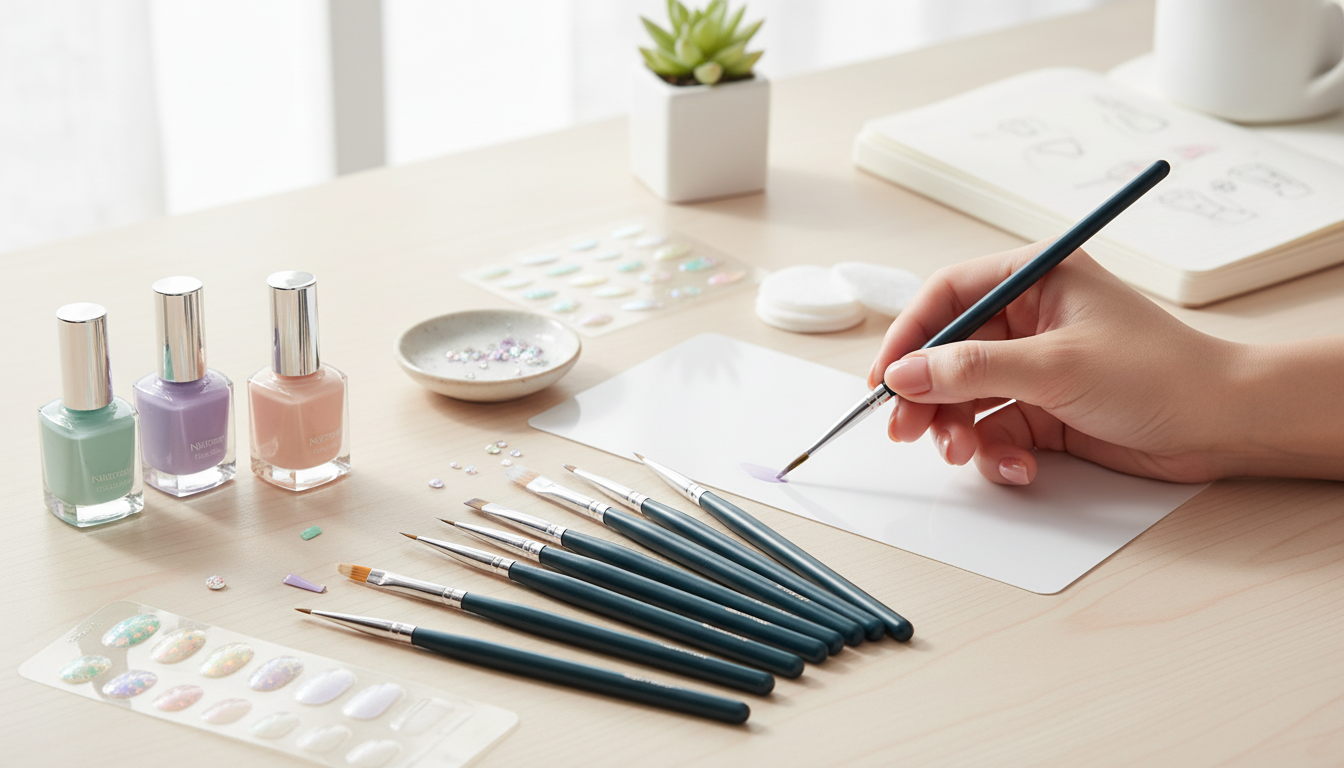
You can make a simple nail-art brush from a clean, fine-tipped paintbrush. The key is to use soft bristles, trim them gradually, and keep the brush dedicated to nail products. Our team recommends starting with an inexpensive detail brush rather than cutting down a full-size manicure brush.
First, wipe the bristles with rubbing alcohol and let them dry completely. For a thin liner brush, hold the brush upright and trim a few bristles from the outside of the bundle. Leave the center bristles long so the tip can carry polish and draw a continuous line. Cut only a little at a time; once you remove bristles, you cannot put them back.
For a short detail brush, trim the tip straight across, then snip away any bristles that stick out. Avoid cutting deep into the metal ferrule, which holds the bristles in place. After shaping, gently fan the brush with your fingers to find loose hairs and remove them before they end up in your design.
Dip just the tip into nail polish or nail-art paint and draw a line on scrap paper or a practice tip. If the line is too wide, remove a few more outer bristles. If it skips, try a lighter touch and a little more product. Our nail art brush guide can help you choose a brush shape for clean lines and smooth curves.
Clean the brush promptly with a remover suited to the product you used, then reshape the bristles while they are damp. Keep polish and remover away from your skin, work in a ventilated area, and do not use a brush that sheds or has a sharp, exposed ferrule. A DIY brush is handy for practice, but a purpose-made nail-art brush is a better choice when you need consistent, repeatable strokes.
Start with a clean, soft synthetic detail brush. Trim outer bristles a few at a time, leaving a neat tip, then test it on paper or a practice nail before using it for nail art.
For a simple at-home manicure, shape your natural nails, gently tidy the cuticles, and apply base coat, color, and top coat. If you mean nail extensions, use products made specifically for nails and follow their application and curing instructions.






Leave a comment