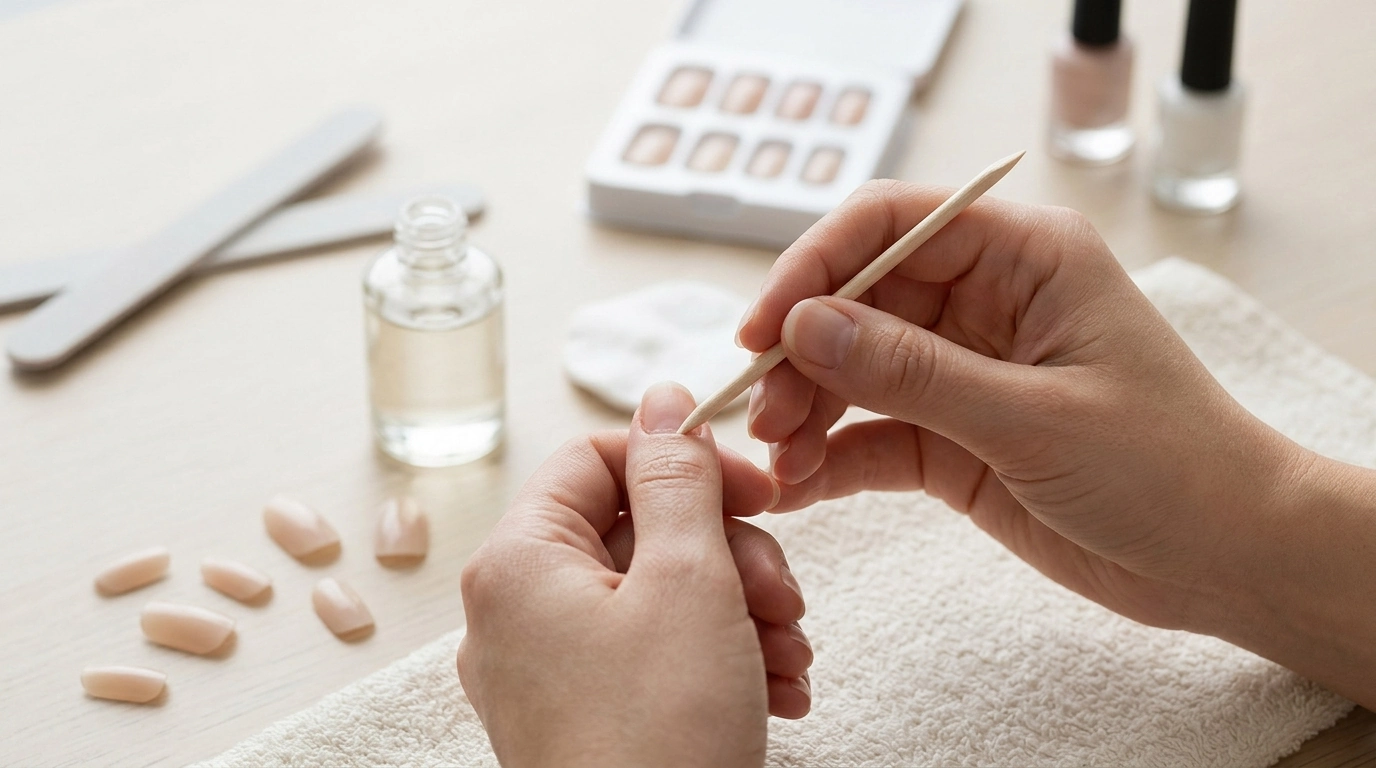
You can make DIY nails at home in two ways: paint and decorate your natural nails, or customize blank press-on nails. If you’re starting out, regular nail polish is the simplest option because it gives you time to correct a line before it dries. Our team recommends getting your base smooth first, then adding one small design you can repeat across both hands.
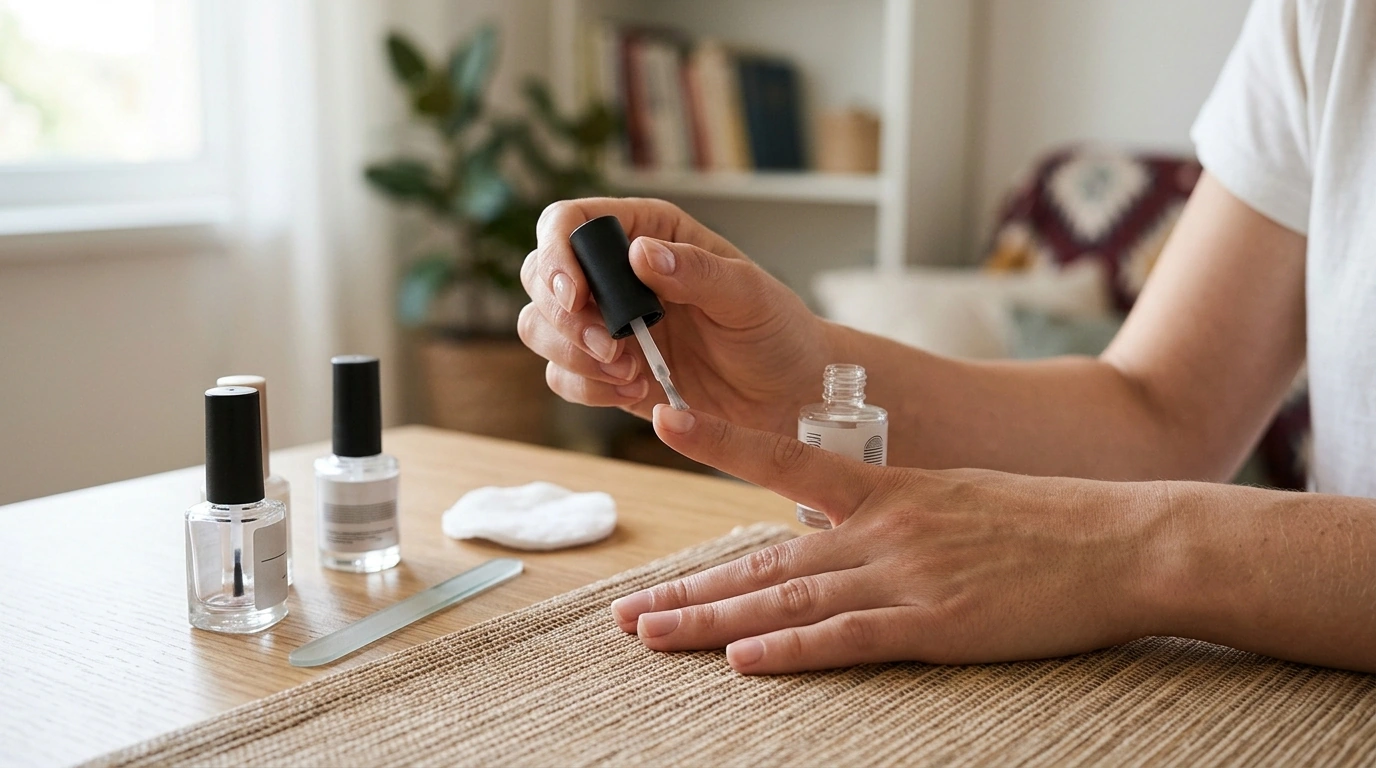
Remove old polish, wash and dry your hands, and gently push back your cuticles without cutting living skin. File each nail in one direction to shape it, then lightly wipe the nail surface with polish remover to clear away oil. Apply a thin base coat and let it dry. Avoid buffing aggressively; you only need a clean surface for polish to grip.
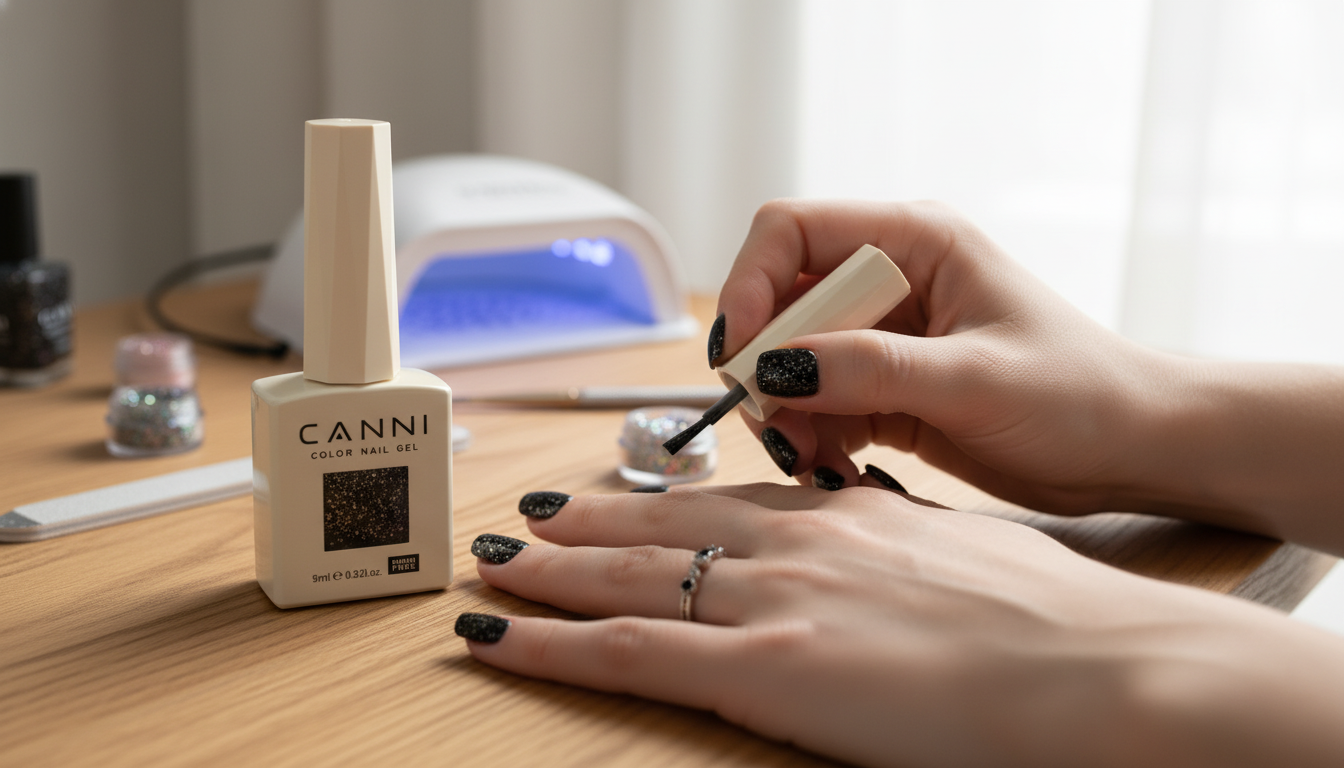
Apply two thin coats of your chosen color, allowing the first coat to dry before adding the second. For an easy DIY look, use a dotting tool or the rounded end of a bobby pin to place small dots near the cuticle. You can also use a fine nail-art brush for a curved accent or a narrow stripe. Rest your painting hand on a table and move the nail you’re decorating when that feels steadier than moving the brush. Our guide to nail-art brushes, clean lines, and smooth curves can help you choose a brush for more detailed designs.
Once the design is dry to the touch, float a thin layer of top coat over it without pressing hard enough to drag the color. Let your nails dry fully before handling fabric or opening containers. Keep polish off irritated skin, and work in a well-ventilated space.
Choose blank press-on tips that fit your nails from sidewall to sidewall without squeezing. Paint and decorate the tips while they’re mounted on a nail stand, then let the polish dry completely before applying them with nail tabs or nail glue according to the product directions. Don’t force off press-ons when you’re ready for a new set; follow the adhesive’s removal instructions to help protect your natural nails.
Start with a nail file, base coat, two polish colors, top coat, and a dotting tool or fine nail-art brush. Polish remover and a small cleanup brush are useful for tidying the edges.




Leave a comment