Mooncake molds aren’t just for traditional pastries—they’re a fast way to stamp crisp, bakery-style patterns onto cookie dough. Whether you’re using a hand press or a plunger-style mooncake mold, the key is choosing the right dough texture, prepping the mold, and releasing the cookie cleanly so the design stays sharp.
For the cleanest imprint, use a dough that’s firm and not overly sticky. Shortbread-style doughs, butter cookies, and some molded sugar cookie recipes work well. If your dough feels soft, chill it 20–30 minutes before molding. If it cracks when pressed, let it warm slightly or knead briefly to smooth it out.
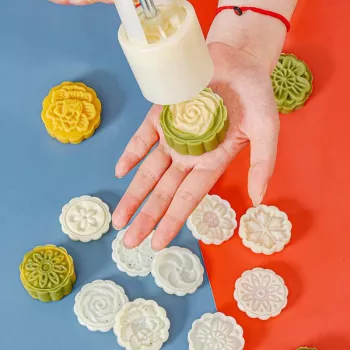
Separate the mold stamp (pattern insert) if your set allows, then ensure everything is completely dry. Lightly dust the inside of the mold with flour, powdered sugar, or cornstarch, then tap out the excess. For very detailed stamps, a quick dusting before every few cookies helps prevent sticking.
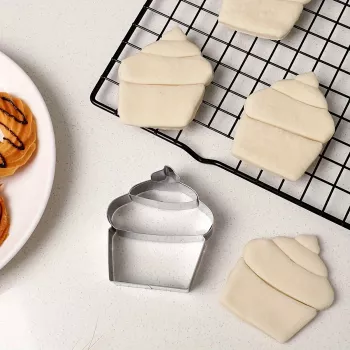
Scoop equal portions of dough and roll into smooth balls to avoid cracks in the pattern. Place a dough ball on parchment paper or a silicone mat, then gently flatten it into a puck that’s roughly the size of the mold opening. Consistent sizing helps each cookie press evenly.
Set the mold over the dough and press straight down firmly. Hold for a second, then lift the mold straight up. For plunger molds, press down, then push the plunger to release. If the cookie sticks inside, dust the mold again and make sure the dough is colder and less tacky.
Chill molded cookies on the tray for 10 minutes before baking to help them keep their edges. Bake until the bottoms are lightly golden; overbaking can blur fine details. For a deeper step-by-step walkthrough and tips on using mini press molds with jelly cookies or fondant, visit this guide to mini mooncake press mold sets.
The dough is usually too warm or sticky. Chill the dough, dust the mold lightly (then tap out excess), and press straight down and lift straight up for a clean release.


Leave a comment