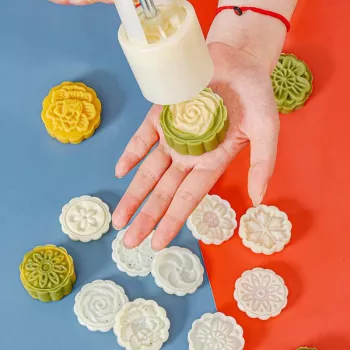
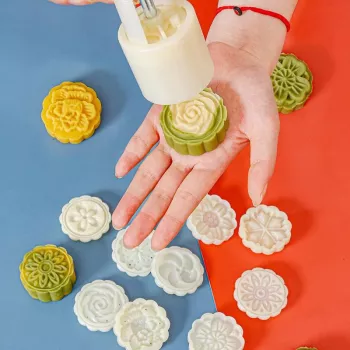
YouTube videos make wooden mooncake molds look effortless: press, pop, and a perfect pattern appears. The secret is simple preparation—especially dough consistency, light flouring, and firm, straight-down pressure. Once those are dialed in, the mold works quickly and cleanly.
Start with a completely dry mold. Dust the inside cavity lightly with flour or cornstarch, then tap out the excess. Too much powder fills in details and leaves a chalky look; too little can cause sticking.
Most videos portion dough into even balls before molding. Aim for a smooth ball with no cracks, then gently flatten it into a puck so it fills the mold evenly. If you’re using a filled mooncake, keep the dough wrapper uniform so the design doesn’t tear when you press.
Place the mold on a board, set the dough puck at the opening, and press firmly straight down. Avoid twisting, which can smear the pattern and cause sticking. Hold pressure for 1–2 seconds to let the dough take the shape.
Flip the mold over and tap it gently on the board, or give the mold a light knock along the side to release. If it resists, stop and dust the mold again—forcing it can pull off the top details.
If the pattern looks soft, the dough may be too warm or oily—chill it briefly and try again. If the mooncake sticks, use less moisture on your hands, add a touch more dusting powder, and make sure you’re pressing firmly without rocking. For step-by-step visuals and tool tips, see the full guide here: mini mooncake press/mold set guide.
Cracking usually means the dough is too dry or cold. Let it rest covered for 10–20 minutes, or knead in a tiny amount of fat or liquid until smooth and pliable.





Leave a comment